Embroidery Digitizing

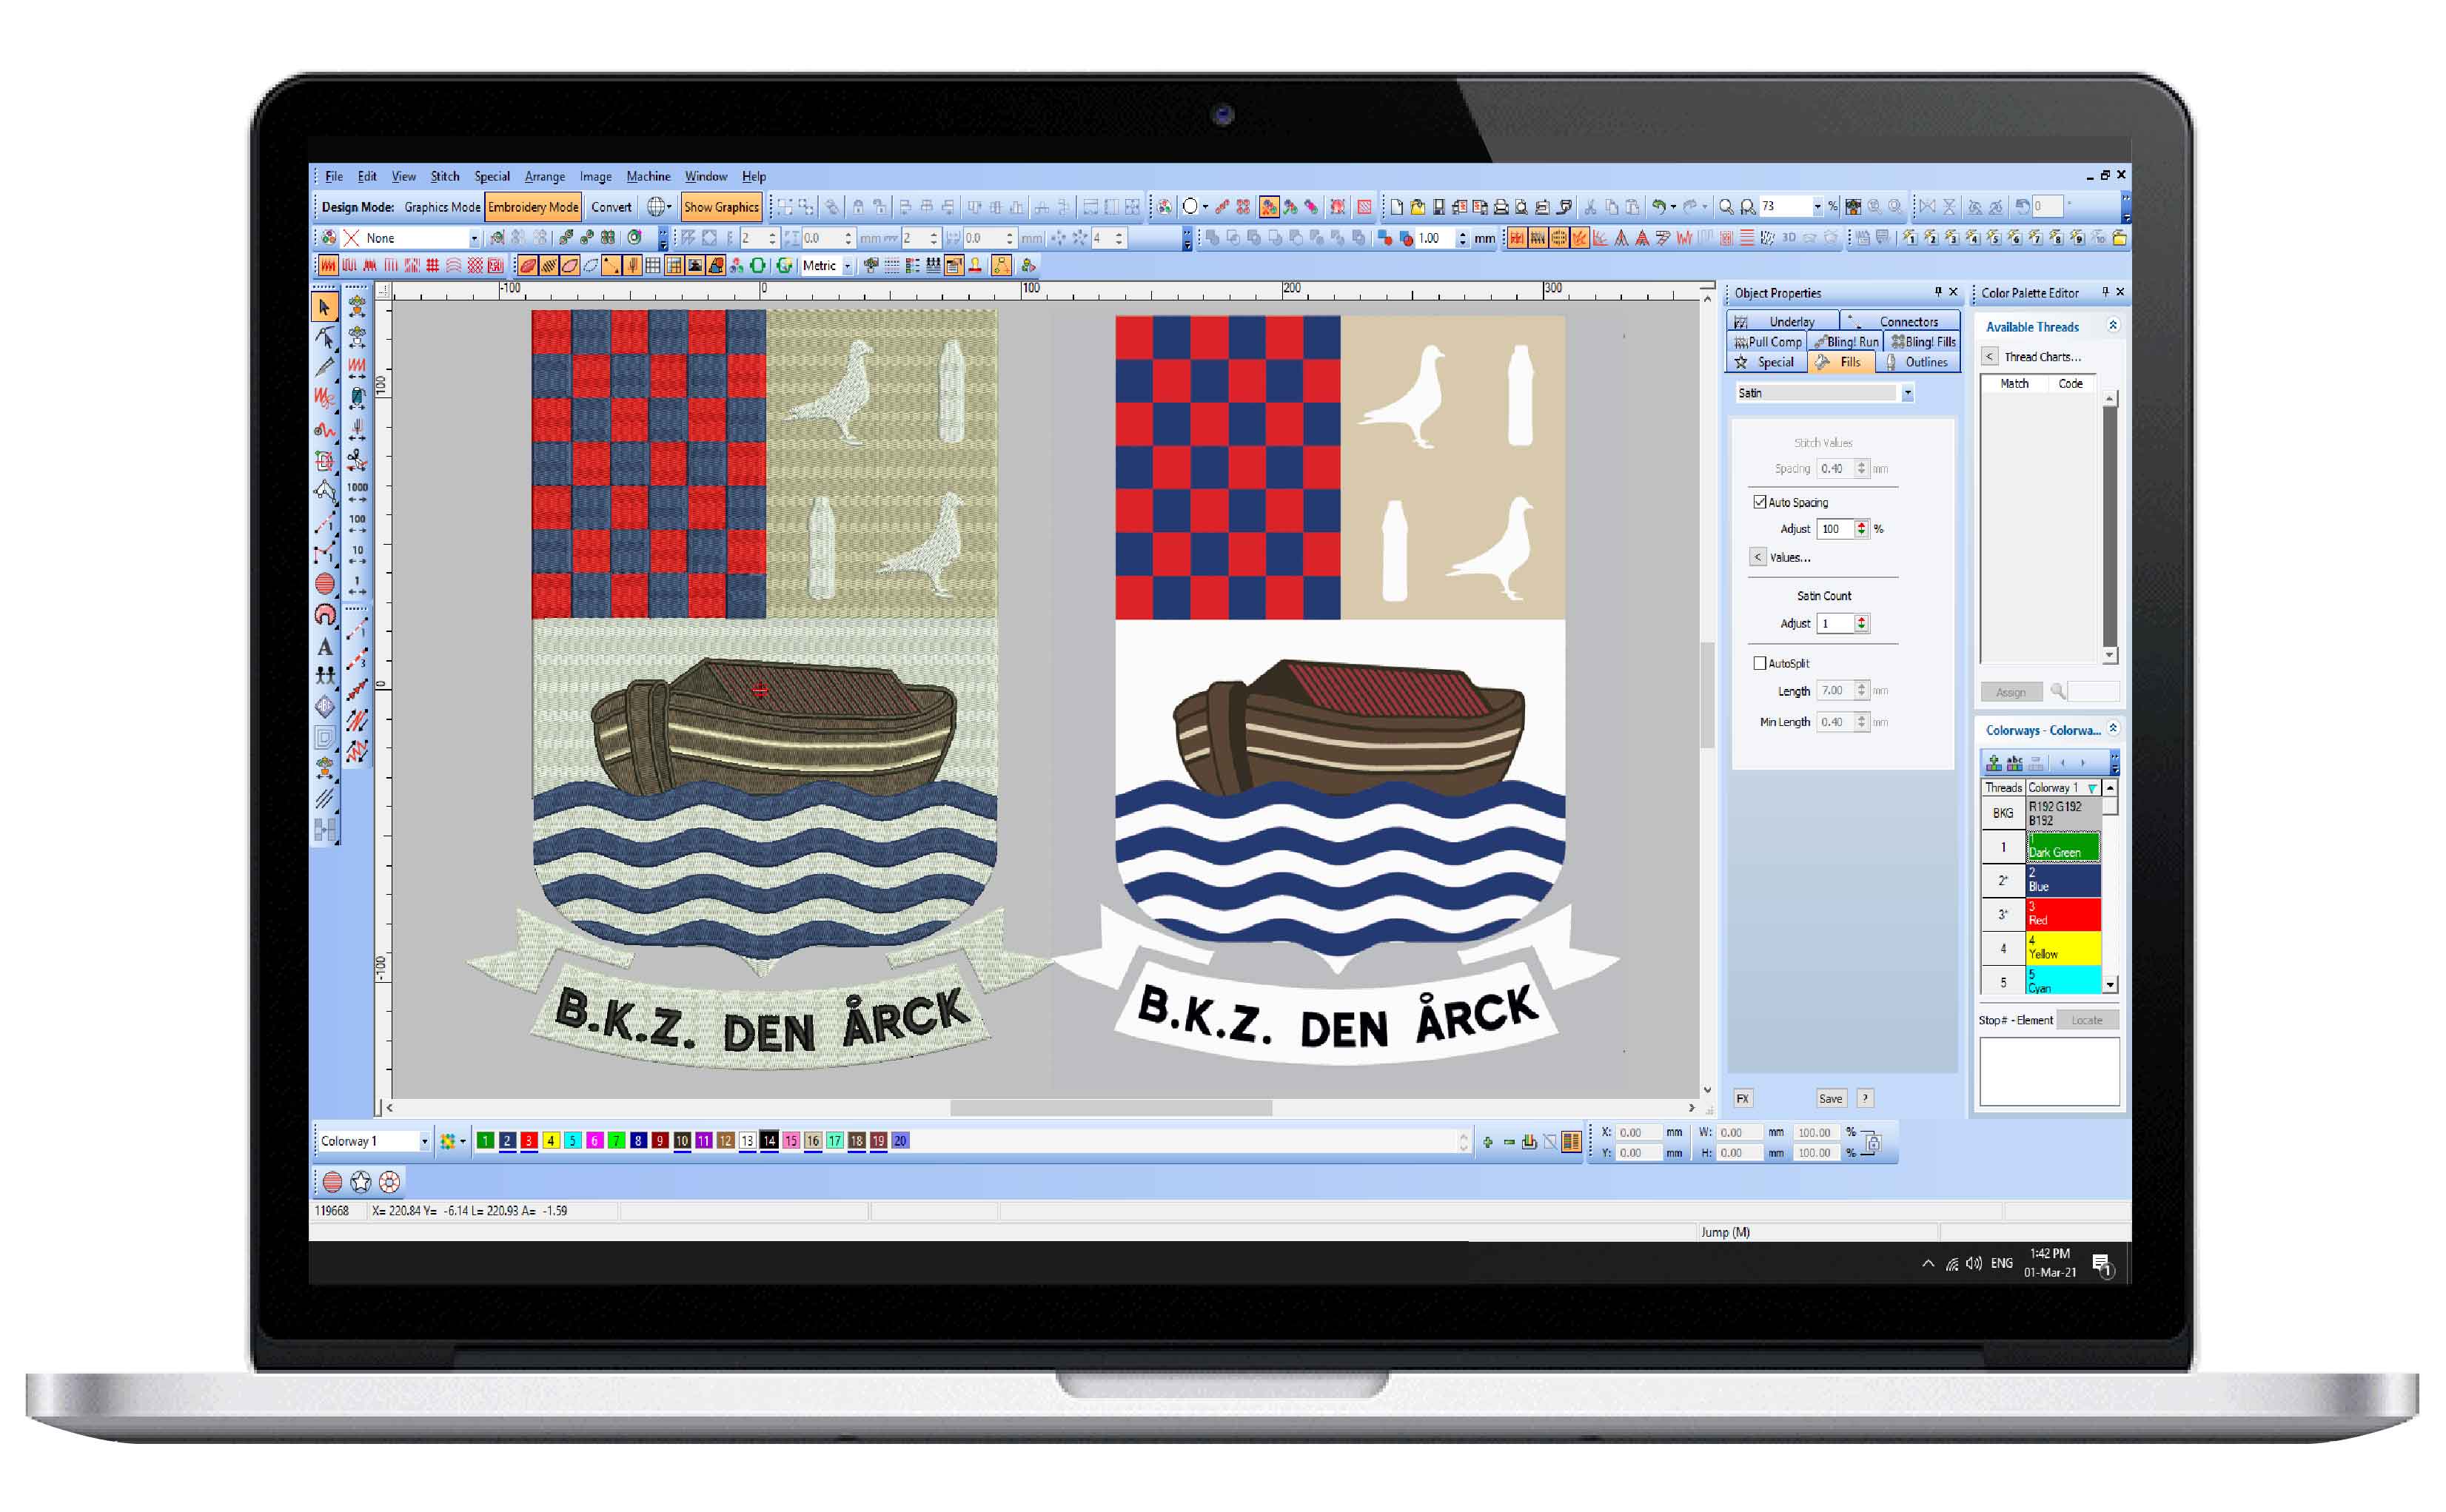
Embroidery Digitizing is a process of converting a graphic logo into stitches. Special computer software is used for creating codes that can be read and translated by an embroidery machine to the stuff like needle up, needle down, change color, move-up, move-down, sew filled area, trim-thread, sew-underlay, sew-text, etc. Whatever the Digitizer programs within the design of his chosen logo are put to the embroidery machine for further processing. Spacing, the width of letters, the direction of threads, how do they lay, and even their width all done by using computer programming. Some people by mistake think Embroidery Digitizing is a scanned process just like screen printing but it is in fact a much more complex process and it requires years of experience.

In a true sense the method of transforming any type of design, text, or any piece of artwork into sewed design in which an embroidery machine can read and apply the embroidery on a part of fabric product is called Embroidery Digitizing. Well-known and highly professional craftsmen using special computer software convert a design or illustrated artwork into a machine-readable scheme.

In the past Embroidery was treated and thought of as only art or a pleasant pastime activity, since the past, it has become an important high-tech means and approach of improving the quality standards of the design industry. So it came into view at a crucial time when automation challenged with the embroidery and completely guaranteed the improved performance to get excelling results and outputs than a traditional art form. The importance of Embroidery digitizing can never be ignored as it plays a vital role whether in making company logos, patches, adding more depth to the garment, or embroidering a trendy design.

Understanding the Embroidery Digitizing job

The important thing is the digitizer must know the requirements of digitizing job nature. In this concern, understanding the required size of the digitized design and the type of fabric product and garment to be embroidered is important. It also includes the art of learning the design to be understood. The digitizer should also know which particular pattern of Embroidery digitizing is desired and which exact stitch types should match an existing design.

Preparing artwork for Embroidery digitizing

The next step for the digitizer is to carefully evaluate whether it should be edited for embroidery considering the final size of the design. Many designs have to be simple or modified. Some other elements for example outlines may need to be removed and small text may be rearranged and enlarged.

Pull and Push of Embroidery Digitizing

The most important part of embroidery is the “Push and Pull”. Some stitches may be affected to shrift because of irregularly moving the design while being embroidered. This happens when using bulky fabrics, very long stitches, large areas of thread, and a very tight bobbin thread. A digitizer must maintain and handle the possible properties of push and pull.

The Embroidery Sew-Out

Ceaseless effort and time-tested workouts are required to create the design with fine detail, small text, color gradations, and lots of color changes despite the fact that a well-experienced digitizer can easily digitize many business logos no matter how difficult they are. Digitizing is an intensively careful process that needs carefully performing with accurate time and experience. The digitizer must have proper ‘know-how’ about stitching a variety of different fabrics in his embroidery using digitizing software. A perfect digitized design will add to a logo’s look as great as an embroider who provides quality digitizing work.

Basic Steps for Embroidery Digitizing 2021

  • Determine the required design size, artwork, fabric stuff, and other specific requirements
  • Estimating the design running on an embroidery machine from start to finish
  • Notice the factors concerning the fabric type “push and pull” of the garment.
  • Carefully assigning embroidery stitch types specifications
  • Test run the design for digitizing adjustments

Project Examples